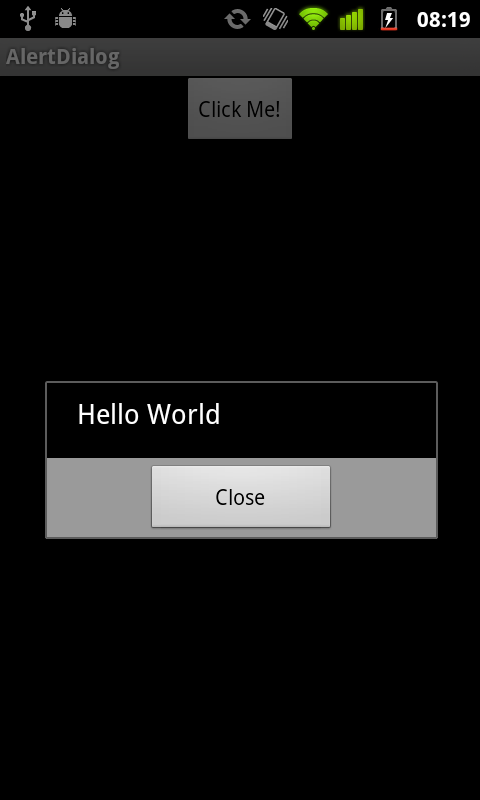
カスタムダイアログを作成すると、次のようになります。
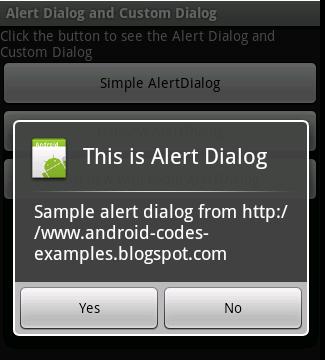
しかし、私はそれをこのように見せたいです:
Dialog を拡張するクラスを作成し、レイアウトを拡張します
public class CustomDialog extends Dialog
    {
        public CustomDialog (Context context)
        {
            //use this Theme, or any other theme you like
            super(context, android.R.style.Theme_Translucent_NoTitleBar);

            requestWindowFeature(Window.FEATURE_NO_TITLE);

            setContentView(R.layout.your_layout);
        }
    }
カスタム ダイアログを使用して、設計した xml をその中に膨らませることができます。
final Dialog yourDialog=new Dialog(context);
thumbnail_click.setContentView(R.layout.yourlayout);
まだ答えがない場合は、ここに良いトーチュリアルがあります:トーチュリアル
独自のXMLシェイプスタイルファイルを作成し、コーナー関数を使用する必要があります。例:
<corners android:bottomLeftRadius="5dp" android:bottomRightRadius="5dp" />
独自のカスタム ダイアログ ボックス レイアウトをいつでも拡張できます。
LayoutInflater inflater = getLayoutInflater();
View dialoglayout = inflater.inflate(R.layout.dialog_layout, (ViewGroup)     findViewById(R.id.dialog_layout_root));
AlertDialog.Builder builder = new AlertDialog.Builder(this);
builder.setView(dialoglayout);